¶ indieDroid HA Show - Setup Guide
The first time you turn on the HA Show, a setup wizard walks you through getting it ready.
It takes a few minutes. Use Next to move on and Back to change an earlier answer.
Before you start: have your Wi-Fi password ready, or plug in an Ethernet cable. The wizard
downloads your dashboard app, so the HA Show needs internet access.
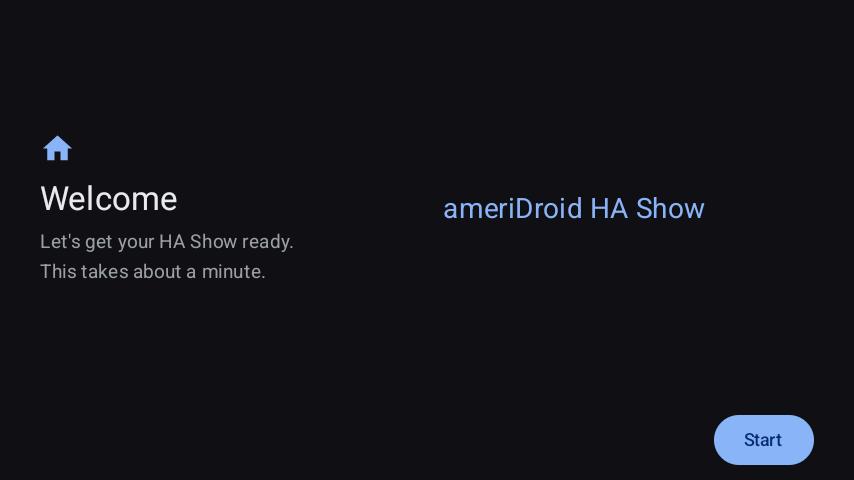
¶ 1. Welcome
Tap Start.
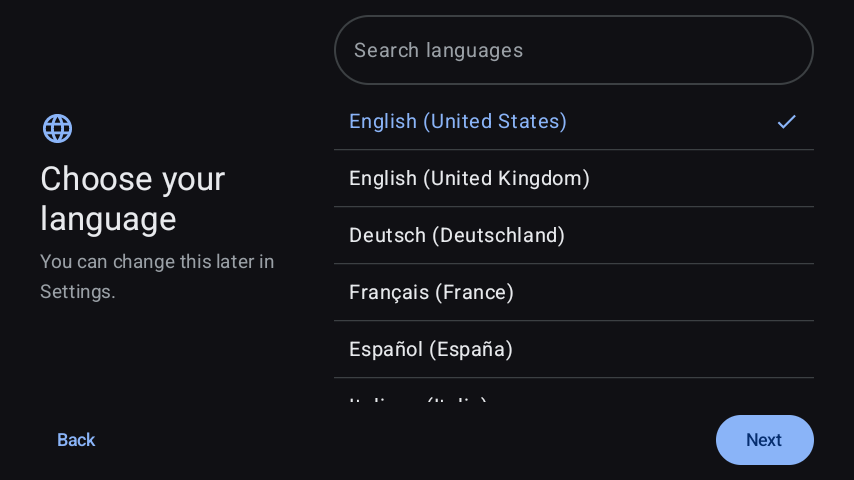
¶ 2. Language
Pick your language. Type in the search box to find it quickly. You can change it later in
Settings.
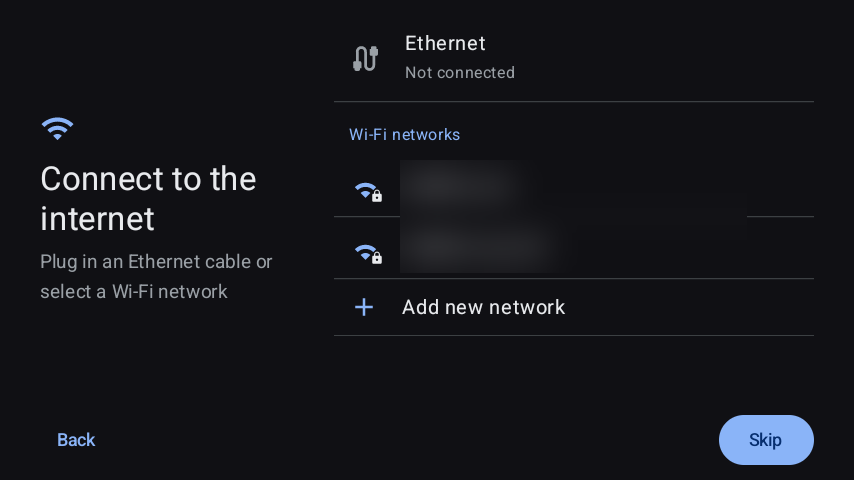
¶ 3. Internet
- Ethernet: plug in the cable. The Ethernet row shows Connected and you can tap Next.
- Wi-Fi: tap your network and enter its password. If your network is hidden, tap
Add new network.
If Ethernet is plugged in, Android uses it and won't join Wi-Fi at the same time. Unplug the
cable if you want to use Wi-Fi.
¶ 4. Software update
The HA Show checks for newer software. If an update is available, you'll see what's new and
the download size.
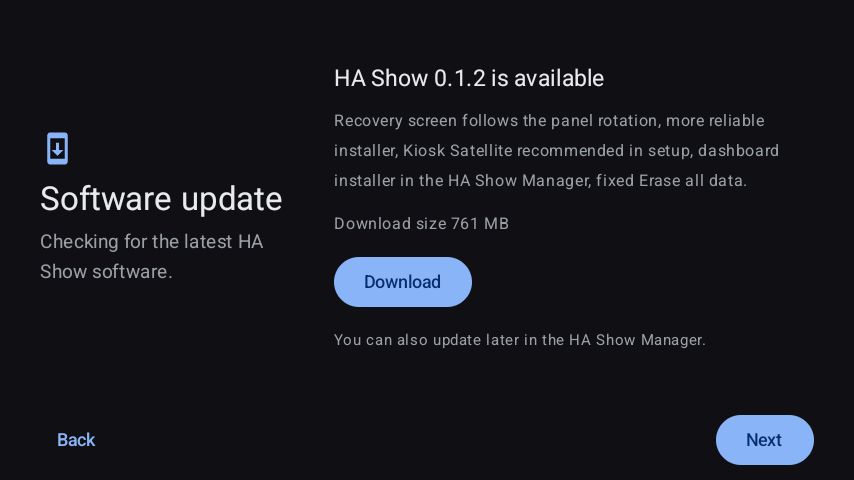
- Tap Download to get it now, or Next to skip it. You can also update later from the
HA Show Manager. - When the download finishes, tap Install and restart and confirm.
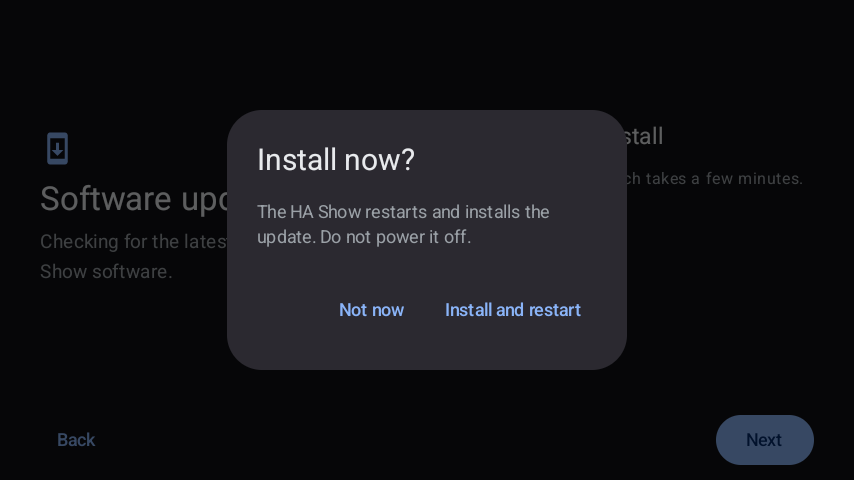
The HA Show restarts and installs the update; this takes a few minutes. Don't unplug it
while it updates. Setup starts again afterward, with your earlier answers kept.
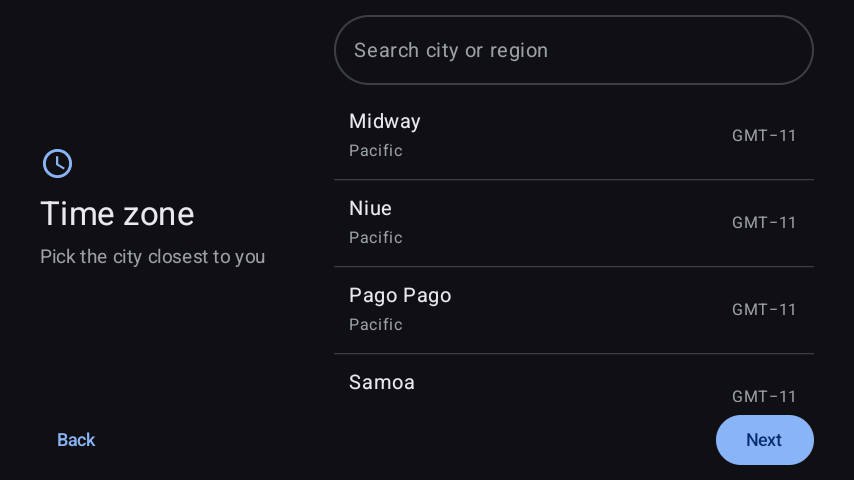
¶ 5. Time zone
The wizard suggests a time zone from your internet connection. If it's wrong, search for the
city closest to you.
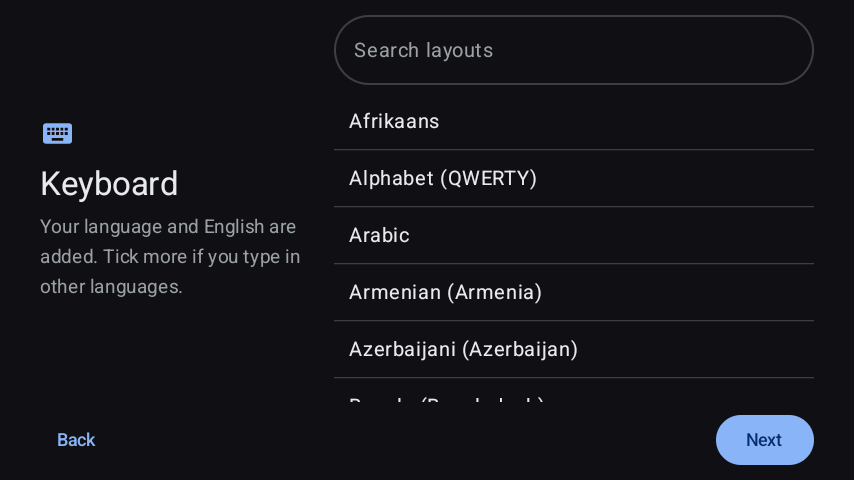
¶ 6. Keyboard
Your language and English are already selected. Tick any other languages you type in.
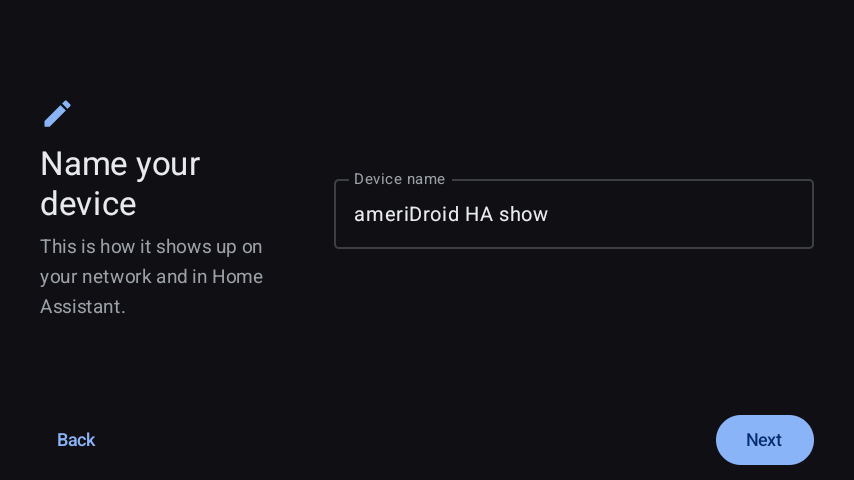
¶ 7. Device name
This is how the HA Show appears on your network and in Home Assistant. If you have more than
one, give each a clear name, such as Kitchen display.
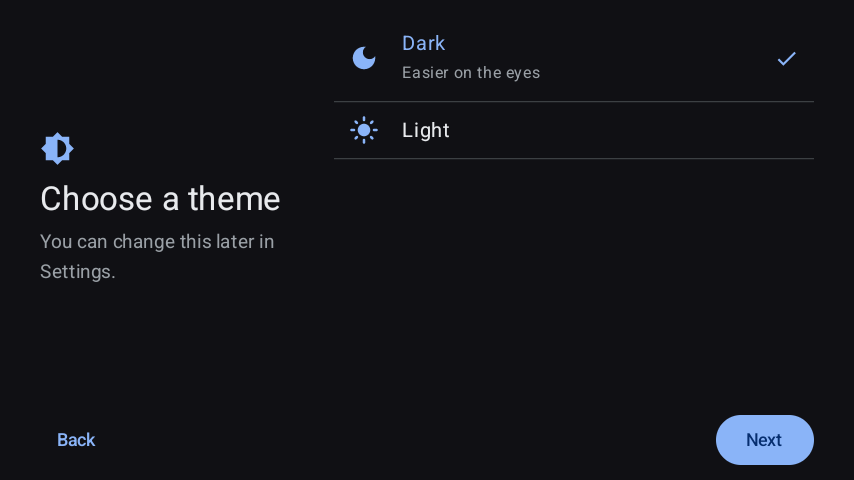
¶ 8. Theme
Choose Dark or Light for Android. (The setup wizard itself is always dark.)
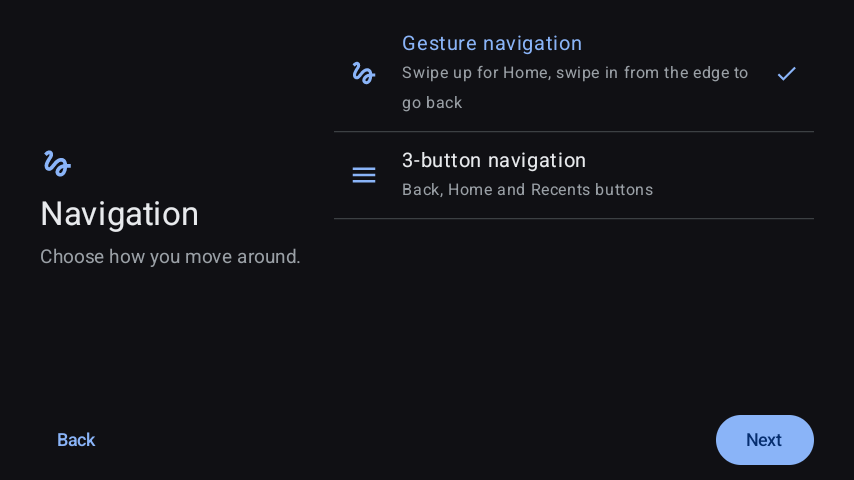
¶ 9. Navigation
- Gesture navigation - swipe up for Home, swipe in from the edge to go back.
- 3-button navigation - Back, Home and Recents buttons at the bottom of the screen.
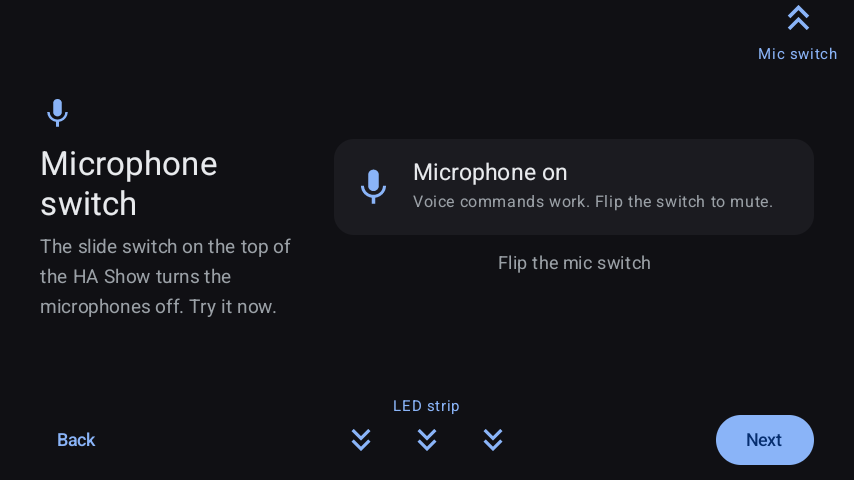
¶ 10. Microphone switch
The slide switch on top of the HA Show turns the microphones off in hardware. Flip it to try
it: the screen shows whether the microphone is on or muted, and the LED strip shows it too.
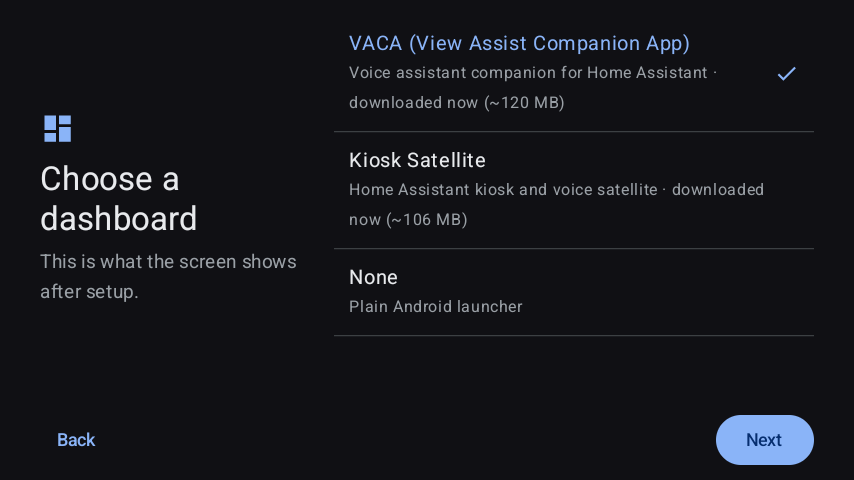
¶ 11. Dashboard
Choose what the screen shows after setup:
| Option | What it is |
|---|---|
| VACA (View Assist Companion App) | Voice assistant companion for Home Assistant |
| Kiosk Satellite | Home Assistant kiosk dashboard and voice satellite |
| None | Plain Android with the normal home screen |
¶ 12. Finishing up
The wizard downloads and installs the dashboard you picked.
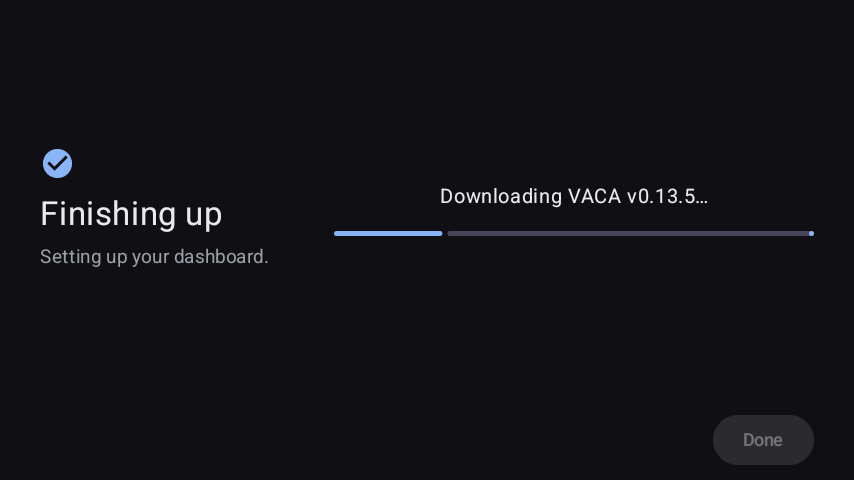
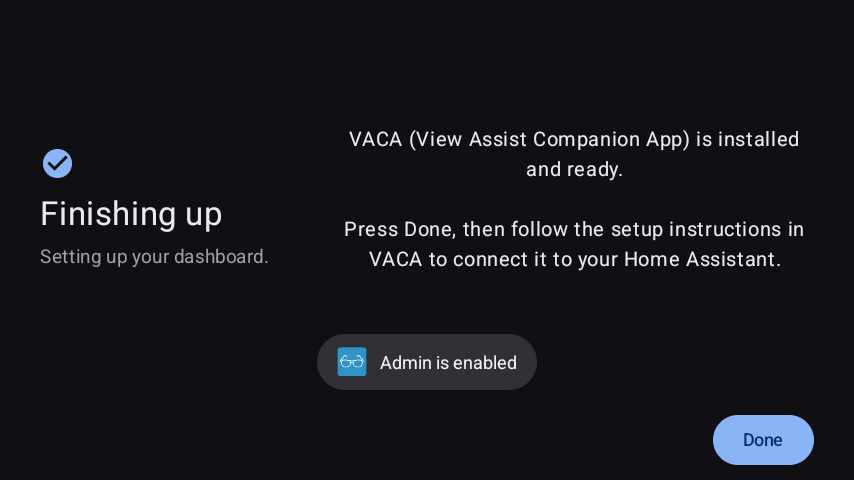
When it's ready, tap Done and follow the dashboard app's own instructions to connect it to
your Home Assistant.
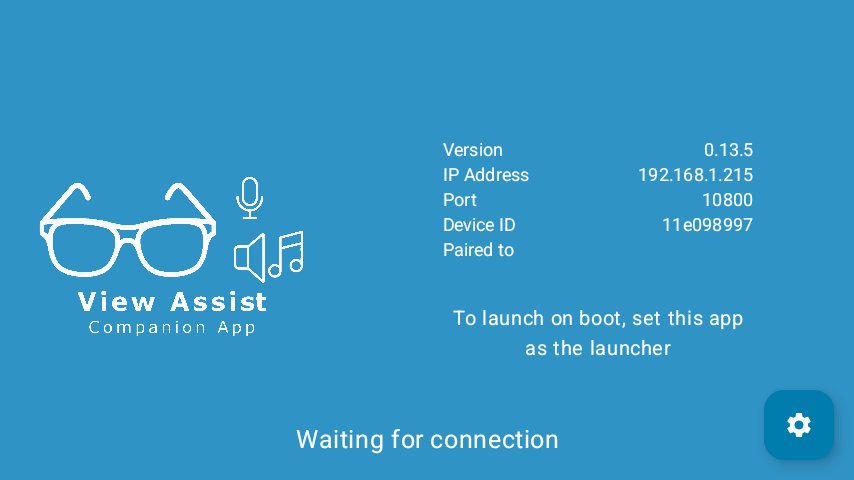
For example, VACA opens and waits for Home Assistant to connect:
¶ Next steps
- Connect your dashboard to Home Assistant by following its own setup instructions.
- Open the HA Show Manager to check for updates, control the LED strip and see your
sensors - see the HA Show overview.
Questions or problems? Contact us.